Install NanoClaw, meet your assistant, and try your first conversation — with guidance at each step.
By the end of this guide, you’ll have an AI assistant running on your computer and answering your messages. You can start talking to it here, then connect a messaging app when you’re ready.You’ll copy a few commands into Terminal, the app that lets you give your computer written instructions. We’ll explain where to put them and what to expect.Time to set aside: Plan for 30–60 minutes to install NanoClaw, connect your AI account, and reach your first terminal conversation. This is a planning allowance; downloads, a new computer, or Windows preparation can take longer. Allow additional time for a messaging app, especially if you need workspace approval.
You
Hi! Give me three ideas for a relaxing weekend at home.
Your assistant
Try a movie afternoon, cook a new recipe, or spend an hour on a hobby. Would you like help planning one?
An example of your first conversation. Your assistant's wording will vary.
A Mac or Linux computer with at least 4 GB of memory, an internet connection, and permission to install software. Keep this computer on and connected when you want your assistant to respond.
An AI account. The walkthrough below uses a Claude Pro or Max subscription. Have its sign-in details ready. If you already use another supported option, see the alternatives below.
Git, the tool used to download NanoClaw. You’ll check for it in the next step.
NanoClaw installs the other software it needs. If you choose the recommended download during setup, you’ll also sign in to a NanoClaw account. You can create that account when prompted; it is separate from your AI account.
Using Windows?
First follow Microsoft’s WSL installation guide. WSL lets you run Linux on Windows. Once it is ready, open your Linux app (for example, Ubuntu) and follow this guide there. Allow extra time for that preparation.
Using ChatGPT or an API key?
Setup also offers Codex, which connects through a ChatGPT subscription or an OpenAI API key. Choose Build it here at the sandbox step, then Codex at the AI service step. The prebuilt sandbox currently supports Claude.If you use an Anthropic API key, choose Claude, then Paste an Anthropic API key. API keys use your provider’s usage-based billing. See AI providers for the other options.
Already installed NanoClaw, or using a server?
This walkthrough starts with a new installation. For an existing copy, see Installation; for a prebuilt assistant, see Getting started with a template. If you’re moving from v1, follow the migration guide before setup.On Linux, use your regular user account. The installer warns about running as root and about Google Cloud virtual machines. See installation requirements before choosing a server.
Press Command + Space, type Terminal, and press Return.
On Linux, open Terminal from your applications. On Windows, open the Linux app you installed with WSL, such as Ubuntu.
Copy the command below into that window. Press Enter to run it.
git --version
If your Mac offers to install developer tools, follow that prompt, then run the command again. If Git is missing, follow the Git installation instructions for your operating system before continuing.
2
Download NanoClaw and start setup
These four commands open your home folder, download NanoClaw, open its folder, and start setup. Copy and run one line at a time, waiting for each command to finish:
cd ~git clone https://github.com/nanocoai/nanoclaw.gitcd nanoclawbash nanoclaw.sh
It checks your computer and installs supporting software. Follow any prompts it shows. On a new Mac, this can include installing Apple’s developer tools and entering your computer password.Choose Standard setup, then Fresh agent when the next question appears. Use the arrow keys to move through choices and Enter to select one.An agent is your AI assistant. You can give it a job and preferences by chatting with it.
3
Prepare your assistant's workspace
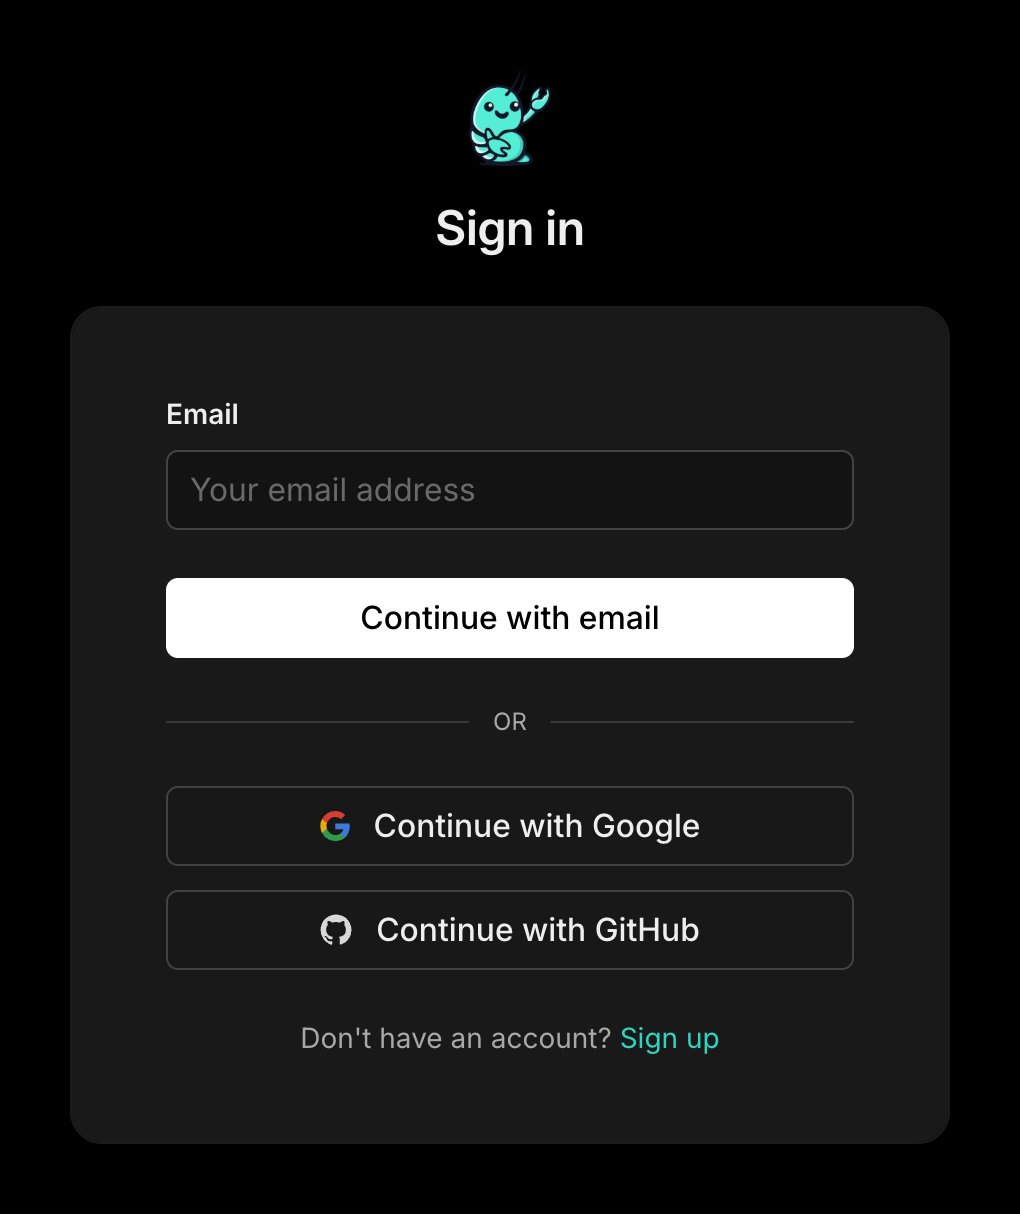
Setup calls this workspace a sandbox. It keeps the assistant’s working files separate from the rest of your computer.Choose Fetch the hardened image, built by Echo to download the prepared software.Using Codex or skipping the download account? Choose Build it here instead. Wait for the local build to finish, then continue to the AI account step. This can take several minutes. See other AI accounts.For the download option, sign in to NanoClaw in the browser window that opens. You can create an account there. If no browser opens, open the link shown in Terminal.If asked to confirm a code, check that it matches the code in Terminal. Once you see the confirmation screen, return to Terminal.
Sign-in screen
Confirmation screen
Real NanoClaw sign-in screen. Use an existing account or choose Sign up.
Real NanoClaw confirmation screen. You can return to Terminal.
4
Connect your AI account
Setup first installs OneCLI, the vault that stores your AI sign-in securely.For this walkthrough, choose Claude, then Sign in with my Claude subscription. Follow the browser prompts to connect your AI account. This is separate from the NanoClaw download account.If you chose the Codex path, select Codex instead and follow its sign-in prompts. See other AI accounts.When Terminal says Setting your assistant’s access rules…, setup is configuring which extra folders on your computer can be shared with your assistant. On a fresh installation, that list starts empty. Your assistant still has its own workspace; you do not need to share personal folders to complete this guide. If you already have access rules, setup keeps them.This step runs automatically. Wait for Access rules set. or Access rules already set., then let NanoClaw start its background service so it can keep running after setup. Enter the name you’d like your assistant to call you when asked.
5
Have your first conversation
Setup sends a test message to check your assistant can reply. The first response may take a little time while it starts.Choose Pause here and chat with your agent from the terminal. This creates the terminal assistant you’ll use in this guide. Move down to that option with the arrow key, then press Enter.Type a message such as:
Hi! Give me three ideas for a relaxing weekend at home.
Press Enter to send it.When you’re ready to finish setup, leave the next message empty and press Enter. Follow the timezone prompt if one appears.
6
Finish setup, with messaging now or later
At the channel question, choose Skip for now to keep using the terminal assistant you just created. A channel is a way to message an assistant, such as Telegram or Slack.
Want to connect a messaging app now?
Choose an app and have the following ready:
Telegram: A Telegram account. Setup walks you through creating a bot with @BotFather, pasting its token into Terminal, and sending a pairing code to your bot.
Slack: A Slack workspace where you can install an app, or an administrator who can approve it. Setup offers to create the app for you, with a manual setup option if needed.
WhatsApp: Your phone with WhatsApp signed in. Open Linked Devices to link NanoClaw using a QR code or pairing code.
For other apps, see the channel guides.Follow the final instructions for that app: some require you to send the first message. A messaging app can connect to a different assistant from the one you met in Terminal.
To send another message later, run this from the same Terminal window, still in the nanoclaw folder:
pnpm run chat "Help me plan one of those weekend ideas."
This sends one message and prints the reply. Run it again with different text for your next message.If you open a new Terminal window later, run cd ~/nanoclaw first. If Terminal cannot find pnpm, see command not found below.
Replace the text inside the quotes in the command above, or send a message in your connected app:
Plan something: “Help me make a shopping list for a dinner for two.”
Set a preference: “Please keep your answers short and use bullet points.”
Explore a topic: “Find three beginner resources for learning to grow herbs.”
Keep the computer running NanoClaw on and connected to the internet. To receive reminders as notifications on your phone, connect a messaging app. Terminal chat only displays replies while its command is running.
If the missing command is git, return to the Git check.If setup finished but Terminal cannot find pnpm, open a new Terminal window so it can pick up the newly installed tools. Run cd ~/nanoclaw, then retry your message command. On Windows, reopen your Linux app.If that does not help, or setup did not finish, follow the error shown by setup or use the troubleshooting guide.
A nanoclaw folder already exists
Don’t delete it to repeat the download. It may contain an existing assistant. See Installation to continue from your existing copy.
Setup stopped or sign-in did not finish
Follow the recovery prompt in Terminal. If you need to restart setup, run bash nanoclaw.sh again from the same nanoclaw folder. If asked what to do with the existing installation, choose Keep it & continue setup.Still stuck? Ask in Discord with the step name and error message. Leave out passwords, keys, and sign-in codes.